Image Upscaling vs Enhancement: What Is the Difference?
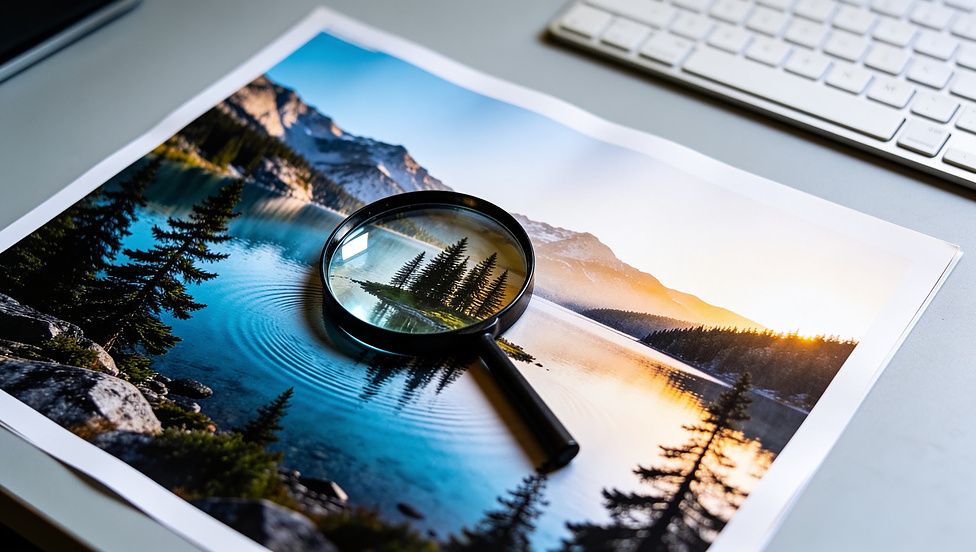
Image upscaling makes a picture bigger by adding pixels. Image enhancement makes it look better at the size it already is, by sharpening edges, cutting noise, or fixing color. If a photo is too small for where it's going, upscale it; if it's big enough but looks rough, enhance it; and if it's both, clean it up first and upscale it last. The image upscaling vs enhancement question comes up more now that many AI tools do both in one click. That's convenient until something looks wrong, because each step fails in its own way and the result doesn't tell you which one caused it.
What Is Image Upscaling?
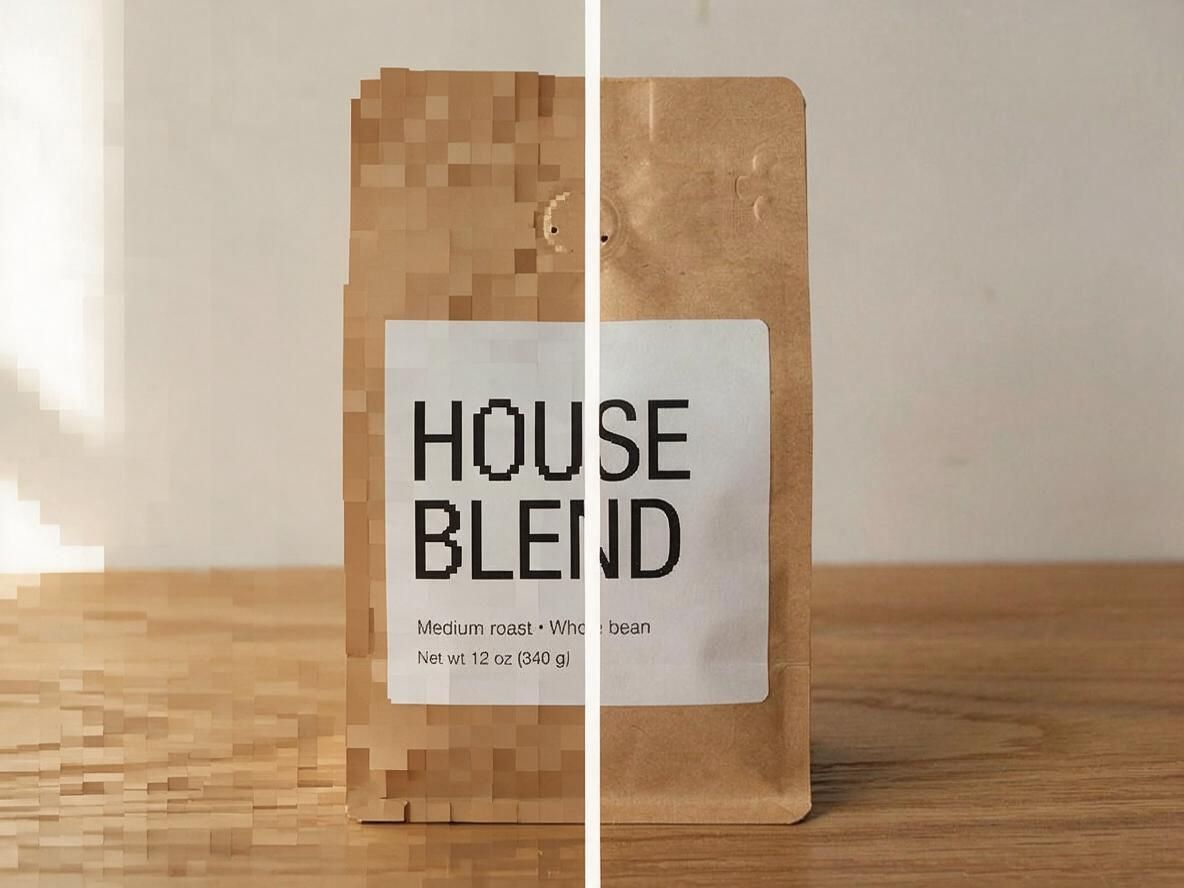
Image upscaling raises an image's pixel count so it can fill a larger space. Double the width and height of a 1200 × 900 px photo and you get 2400 × 1800 px, four times as many pixels as before.
The real question is where the new pixels come from. Traditional upscaling averages the pixels around each gap, which is how a standard resize works in most photo editors, Photoshop included. The file gets bigger, but no new detail appears, so edges look soft up close.
How Does AI Upscaling Work?
AI upscaling predicts the missing pixels instead of averaging them. A model trained on pairs of small and large images estimates what your photo would probably look like at a higher resolution. Google's SR3 research model showed how convincing that can get: starting from random noise and refining it step by step, it turned 16 × 16 px faces into 128 × 128 px ones, and human raters often couldn't tell them from real photos.
Convincing isn't the same as correct. A prediction can still get a letter, a freckle, or the weave of a fabric wrong, so AI upscaling needs a closer look than a plain resize.
What Is Image Enhancement?
Image enhancement improves the pixels you already have, usually without changing the size. It sharpens edges, reduces noise, corrects color and exposure, and smooths out mild blur or compression artifacts.
Some editors keep these jobs in tools that never touch the resolution, which makes the split easy to see: one refines edges and color, and another cleans up grain in low-light shots.
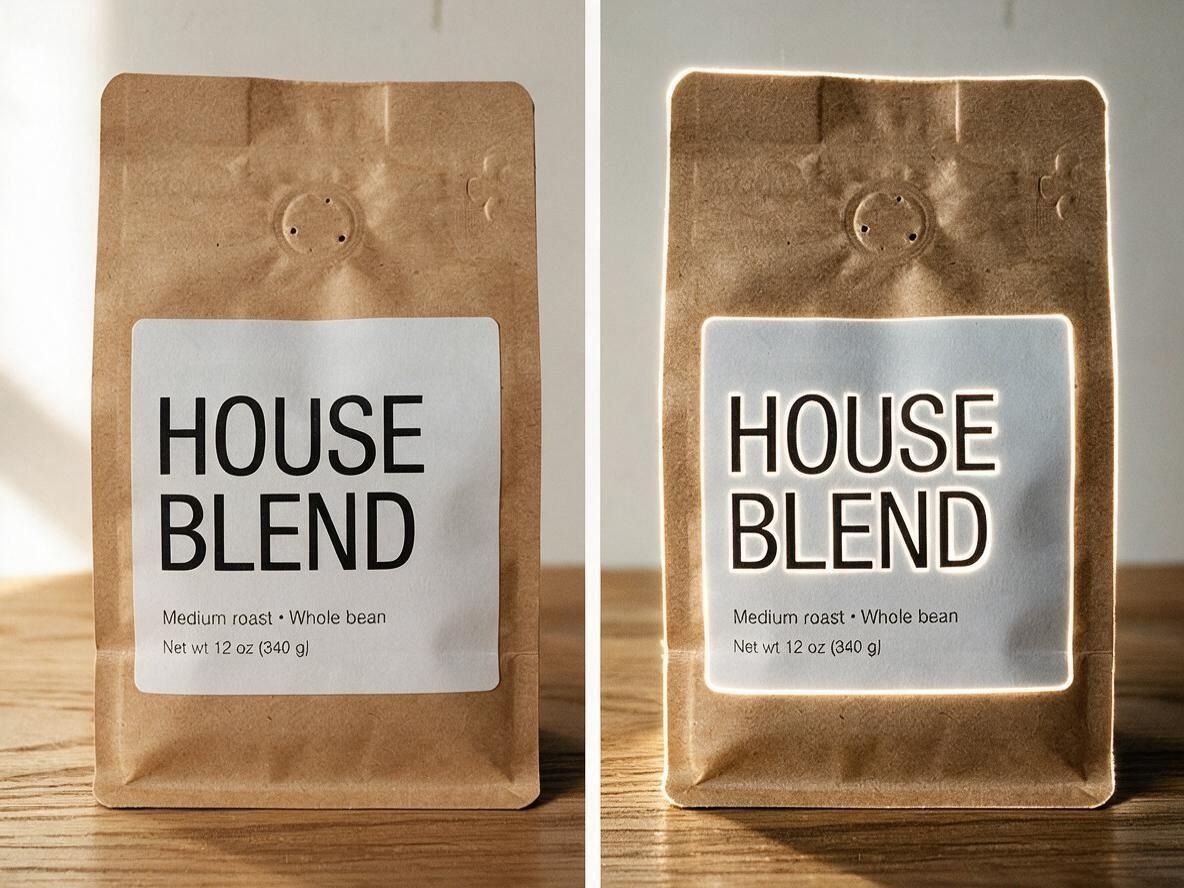
Enhancement has its own ways to go wrong. Too much sharpening draws bright outlines along edges, usually called halos. Too much noise reduction wipes out the texture of skin, leaves, and fabric until they look like plastic.
Image Upscaling vs Enhancement Compared
The short version: pixel count versus pixel quality.
Which One Does Your Image Need?
Start with where the image is going. If it can't fill the space you need, it needs upscaling; if it fills the space but looks rough, it needs enhancement. Many photos need both, and then the order matters: reduce noise first, because upscaling enlarges grain along with everything else, and an AI model may redraw that grain as fake texture.
A Small Image You Need Larger
Say your only copy of a dish photo from a delivery listing is 600 × 600 px, and the new menu banner is 1500 px wide. Stretched to fit, it'll look soft. That's an upscaling job, and only by 2.5x, not the largest setting your tool offers. The less you upscale, the less of the final image is guesswork.
How to Enhance a Photo That Looks Soft or Grainy
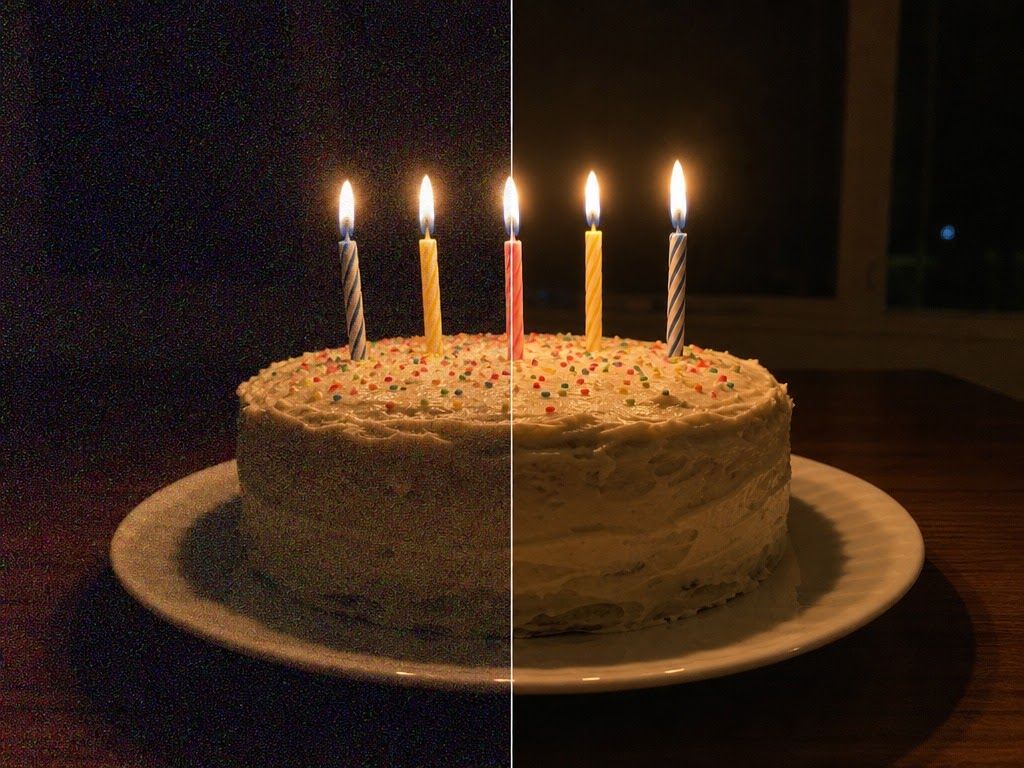
A phone photo of a birthday cake by candlelight can have millions of pixels and still look grainy, and a bigger copy would only carry bigger grain. Reduce the noise first, sharpen a little, and leave the size alone. Then check the frosting and any faces at 100%: if they've turned waxy, ease off the noise reduction.
Can You Enhance a Blurry Photo?
Only a little, and only when the blur is mild. Picture a kid's soccer kick shot at a slow shutter speed: the foot comes out as a streak. The camera never recorded where its edges were, so neither fix has real detail to recover. AI enhancement can redraw mild softness into something crisper, but on a streak it's guessing, and the guess may not look like your kid. The real fix is a faster shutter next time.
An Old or Damaged Photo
Old prints usually need everything at once: repair for scratches, tears, and fading, some enhancement, and often a size increase. A dedicated photo restoration tool is the better place to start, since repairing damage is a job of its own. Go slowly with faces. DaVinci's own restoration page warns that restoration can alter small features and that added color is an interpretation, not a historical record.
How to Upscale an Image Without Losing Quality
You can't add detail the camera never captured, but you can keep the loss small by upscaling only as far as the job needs. Work out the size you need, divide by the size you have, and stop there.
- Find the target size in pixels. On a screen, that's the layout width, like the 1500 px banner. For print, multiply each side in inches by the resolution your printer asks for: at 300 pixels per inch, an 8 × 10 inch print needs 2400 × 3000 px.
- Divide the target by what you have. The dish photo needs 1500 ÷ 600 = 2.5x.
- Round up to the next setting your tool offers, then scale the result down to the exact size.
Big jumps cost more than they look. At 2x, three of every four pixels in the result are new; at 4x, it's 15 of every 16.
Upscale and Enhance in One Step: What You Gain and Lose
Most one-click AI tools do both at once: the file comes back bigger, sharper, cleaner, and color corrected. DaVinci's AI photo enhancer is one of them. As of November 2026, its product page lists sharpening, noise reduction, color and lighting fixes, and output up to 4K, and it says plainly that upscaling can't recover detail that was never in the photo.
What you give up is diagnosis. When something looks off, compare the result with the original and sort each problem into one of two groups. Size problems, like soft or blocky edges, point back to the upscaling factor. Quality problems, like halos, smeared texture, or a color shift, point to the enhancement settings.
How to Spot Artificial Detail
Zoom in to 100% and go area by area. Invented detail shows up where the original had the least to work with.
Faces: eyes, teeth, or ears sharper than the rest of the face, or features that drift away from the real person.
Text and logos: lettering that comes out crisp but misspelled, or squiggles that only pass for writing.
Repeating textures: brick, fabric, or leaves that settle into an even, repeated pattern.
Edges: bright or dark outlines along high-contrast edges, the usual sign of oversharpening.
Hair and fur: strands that look painted on or run in directions the original doesn't support.
If the photo is a record of something, like a family photo from 1960 or a picture of a cracked wall you're sending to a landlord, keep the original and treat the edited file as a separate version. An improvement can still change what the image shows.
Quick Decision Checklist
Too small for the print, screen, or crop: upscale by the factor you need, no more.
Right size but grainy: reduce noise first.
Right size but soft: sharpen gently and watch the edges.
Small and grainy: reduce noise, upscale, then sharpen lightly.
Blurred by motion or missed focus: retake it if you can; don't expect either fix to rescue it.
Faces, text, or historical photos: check them against the original before you use the result.
Drafted with AI assistance and reviewed by Buğra Demir. Last updated: November 2, 2026.
More from DaVinci Blog