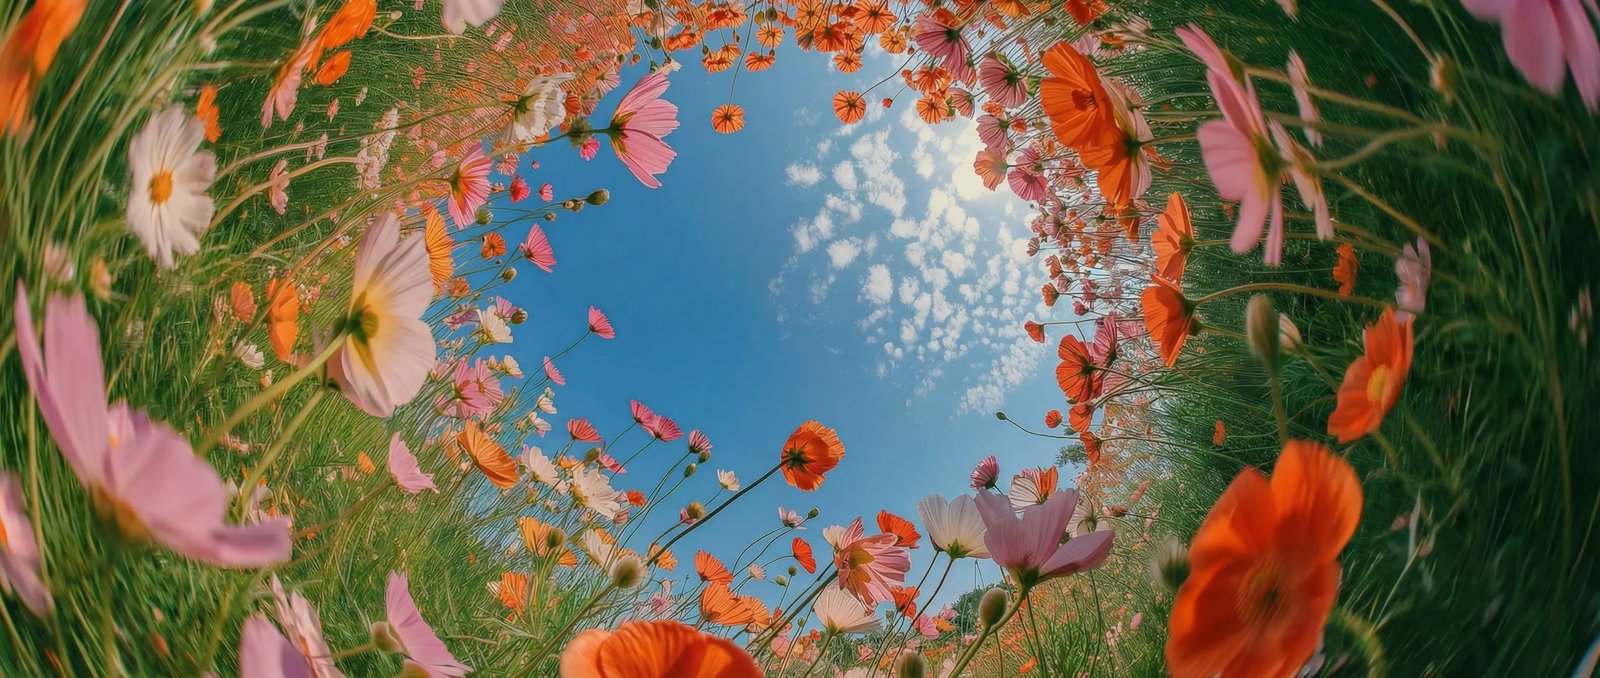
Cinematic video quality in DaVinci
Generate smooth, high-quality videos with realistic motion, rich details, and cinematic visual effects in DaVinci.
DaVinci brings together video models from different AI providers — PixVerse among them. Generate cinematic videos, animated scenes, character videos, visual effects, and social media content.
Generate smooth, high-quality videos with realistic motion, rich details, and cinematic visual effects in DaVinci.
Transform text prompts into dynamic videos with fluid camera movement, lifelike animation, and expressive scenes inside DaVinci.
In DaVinci, create cinematic clips, anime videos, product showcases, social media content, and visual storytelling with a single model.
Generate stunning AI videos in minutes, explore multiple ideas, and iterate quickly for every creative project in DaVinci.
Create cinematic AI videos, animated scenes, and social media content with PixVerse directly inside DaVinci AI.
PixVerse is built for creators, filmmakers, marketers, and content professionals through DaVinci.
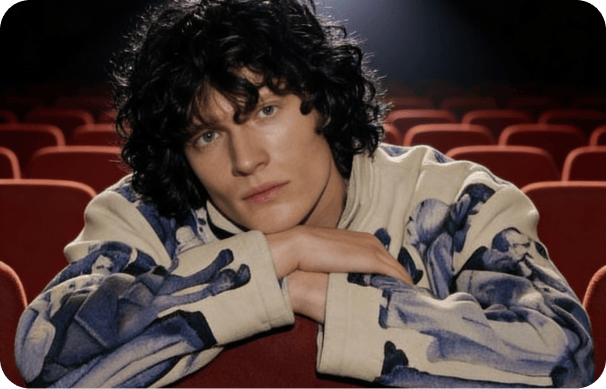
Create engaging AI videos, short-form content, reels, and social media clips with cinematic motion and stunning visuals in DaVinci.
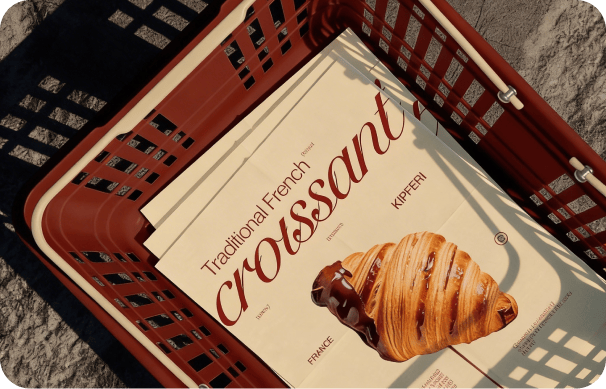
In DaVinci, turn ideas into cinematic scenes, animated sequences, concept videos, and visual storytelling with realistic camera movement.
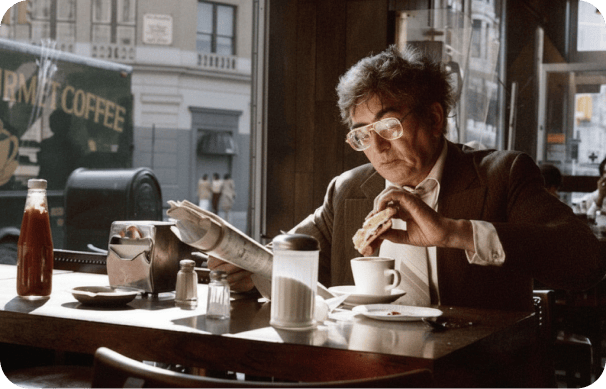
Inside DaVinci, produce product videos, advertising campaigns, promotional content, and branded videos faster with AI-powered video generation.
Create engaging AI videos, short-form content, reels, and social media clips with cinematic motion and stunning visuals in DaVinci.
In DaVinci, turn ideas into cinematic scenes, animated sequences, concept videos, and visual storytelling with realistic camera movement.
Inside DaVinci, produce product videos, advertising campaigns, promotional content, and branded videos faster with AI-powered video generation.
In DaVinci, describe your idea and generate cinematic AI videos with realistic motion, dynamic camera movement, and professional-quality visuals.
Here’s why creators choose PixVerse inside DaVinci.
Create high-quality AI videos with smooth motion, realistic animation, and cinematic visual effects through DaVinci.
Generate videos with natural camera pans, zooms, tracking shots, and immersive scene transitions in DaVinci.
Create cinematic scenes, anime videos, product showcases, commercials, and social media content with a single model inside DaVinci.
Generate AI videos in minutes, explore multiple creative ideas, and iterate quickly with every prompt through DaVinci.
Create high-quality AI videos with smooth motion, realistic animation, and cinematic visual effects through DaVinci.
Generate videos with natural camera pans, zooms, tracking shots, and immersive scene transitions in DaVinci.
Create cinematic scenes, anime videos, product showcases, commercials, and social media content with a single model inside DaVinci.
Generate AI videos in minutes, explore multiple creative ideas, and iterate quickly with every prompt through DaVinci.