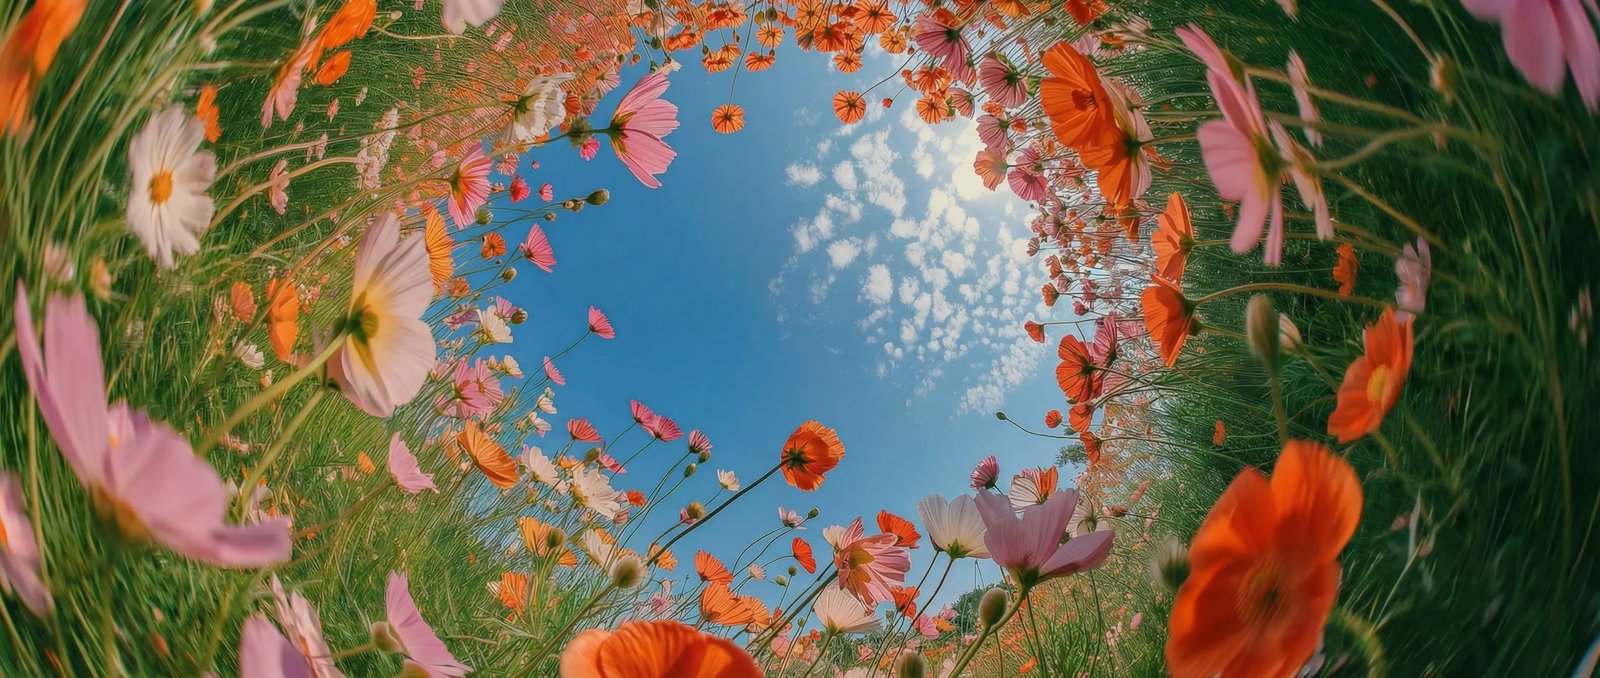
Advanced motion control in DaVinci
In DaVinci, directly control movement paths, pacing, and transitions to achieve smooth, natural motion that feels intentional and cinematic.
DaVinci brings together video models from different AI providers — Kling Motion Control among them. Shape motion, camera movement, and scene dynamics with accuracy and consistency for production-ready results.
In DaVinci, directly control movement paths, pacing, and transitions to achieve smooth, natural motion that feels intentional and cinematic.
Inside DaVinci, define camera behavior with accuracy, including pans, zooms, tracking shots, and framing, ensuring the motion follows your creative intent.
In DaVinci, motion, depth, and timing respond naturally, creating cleaner scenes with realistic physics and visually coherent movement across shots.
Characters and environments move with purpose and clarity, supporting narrative flow and visually driven storytelling in DaVinci.
Use Kling Motion Control directly inside the DaVinci AI Toolkit to design and refine motion-driven scenes with a streamlined, intuitive workflow.
In DaVinci, Kling Motion Control is built for filmmakers, marketers, and creators who need precise control over movement without complex manual animation.
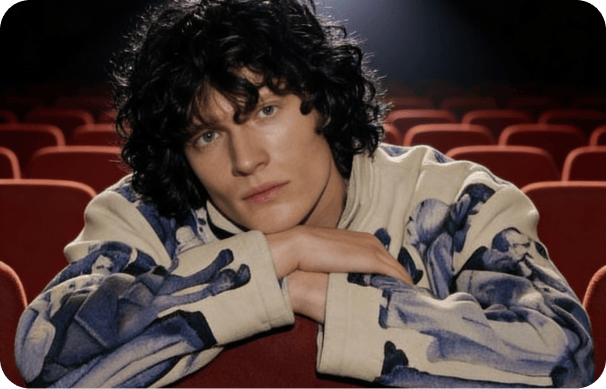
Design motion-driven ads, product visuals, and social assets with controlled camera movement and consistent visual flow in DaVinci.
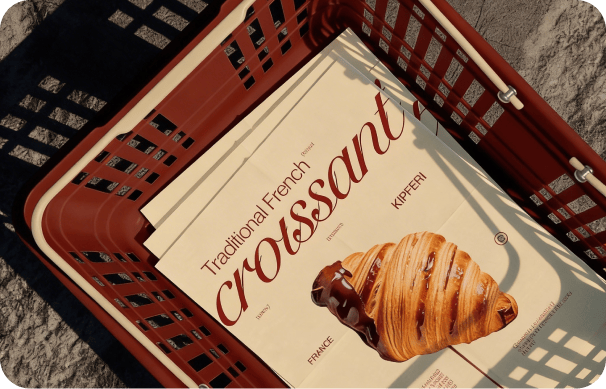
In DaVinci, plan and refine shots for previsualization, storyboards, and narrative scenes with realistic motion and intentional camera direction.
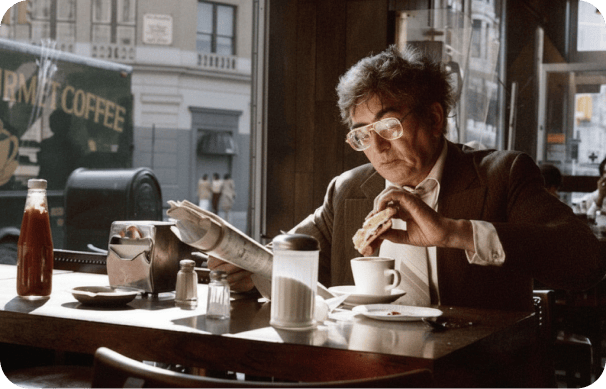
Inside DaVinci, create dynamic, scroll-stopping videos with smooth motion and cinematic camera control, ready for TikTok, Instagram, and beyond.
Design motion-driven ads, product visuals, and social assets with controlled camera movement and consistent visual flow in DaVinci.
In DaVinci, plan and refine shots for previsualization, storyboards, and narrative scenes with realistic motion and intentional camera direction.
Inside DaVinci, create dynamic, scroll-stopping videos with smooth motion and cinematic camera control, ready for TikTok, Instagram, and beyond.
Write a prompt or upload references, and Kling Motion Control brings your idea to life in DaVinci. Define motion and camera direction with simple inputs to create cinematic movement in seconds.
Inside DaVinci, Kling Motion Control focuses on accurate motion design and camera behavior, helping creators produce consistent, high-quality video movement at speed.
Shape how subjects and scenes move, ensuring smooth transitions and natural pacing across every shot through DaVinci.
Achieve professional-style camera movement with predictable, realistic results driven by clear motion instructions in DaVinci
In DaVinci, the model understands complex motion intent, generating movement that feels purposeful, expressive, and visually coherent.
Inside DaVinci, maintain consistent motion style, camera behavior, and visual flow across scenes, ideal for storytelling, branding, and multi-shot projects.
Shape how subjects and scenes move, ensuring smooth transitions and natural pacing across every shot through DaVinci.
Achieve professional-style camera movement with predictable, realistic results driven by clear motion instructions in DaVinci
In DaVinci, the model understands complex motion intent, generating movement that feels purposeful, expressive, and visually coherent.
Inside DaVinci, maintain consistent motion style, camera behavior, and visual flow across scenes, ideal for storytelling, branding, and multi-shot projects.