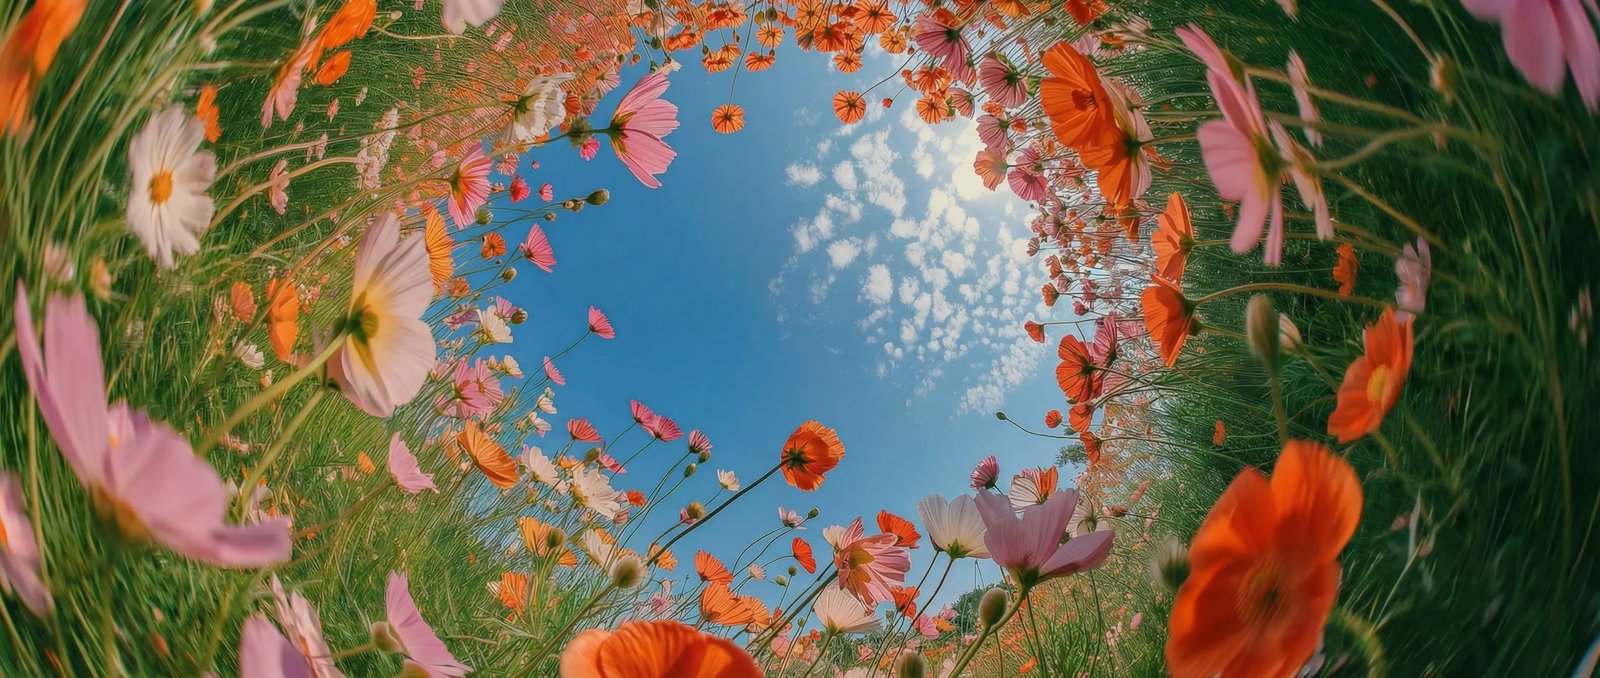
Keep the clip going in DaVinci
Feed a finished video back in and Flux 3 continues it from the last frame, matching the motion and scene it inherits in DaVinci. Build a longer sequence a piece at a time instead of starting over.
Flux 3 is one of the video models DaVinci brings together from different AI providers. Create video with sound from a prompt or an image, then extend it past the final frame instead of stopping at the first take.
Feed a finished video back in and Flux 3 continues it from the last frame, matching the motion and scene it inherits in DaVinci. Build a longer sequence a piece at a time instead of starting over.
Inside DaVinci, give the model a starting image and an ending image and it generates the movement between them, so the clip begins and ends exactly where you decided it should.
From 21:9 ultrawide through 2:1, square, and full vertical through DaVinci. Shoot for the format you are publishing to rather than cropping something down afterwards and losing half the frame.
Black Forest Labs’ first move into video, carrying over the prompt adherence the FLUX image models are known for in DaVinci. What you describe is what tends to come back.
Start creating with Black Forest Labs’ Flux 3 by following a few simple steps directly inside the DaVinci AI Toolkit.
In DaVinci, Flux 3 by Black Forest Labs suits creators who want to build a sequence in pieces rather than settle for whatever fits in one generation.
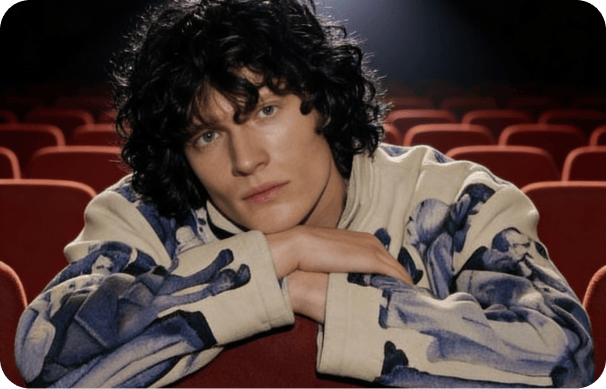
Start with one clip and extend it until the story is actually told in DaVinci. Useful when a single generation runs out before the idea does.
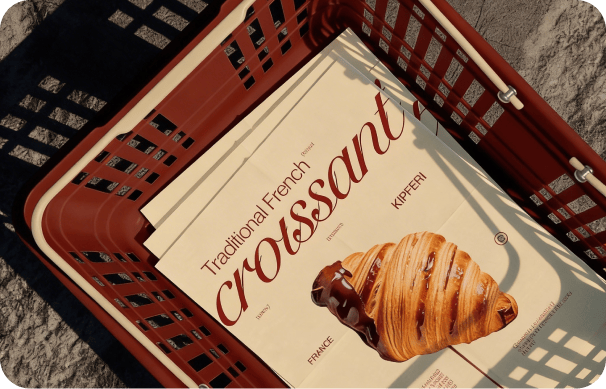
Set the first and last frame around a product beat and let the model handle the movement between them inside DaVinci. Extend the clip when the cut needs more room.
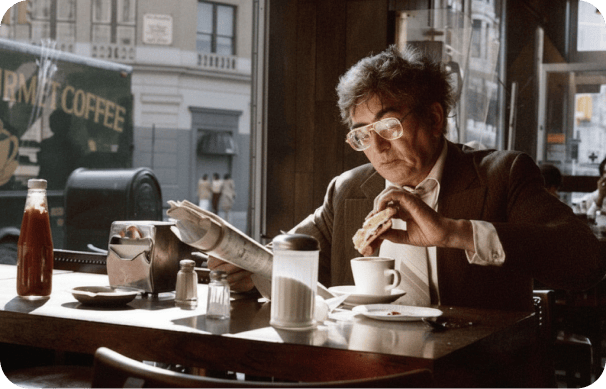
Build a shot in stages through DaVinci. Generate, review, extend from the last frame, and keep the scene continuous instead of stitching unrelated takes together.
Start with one clip and extend it until the story is actually told in DaVinci. Useful when a single generation runs out before the idea does.
Set the first and last frame around a product beat and let the model handle the movement between them inside DaVinci. Extend the clip when the cut needs more room.
Build a shot in stages through DaVinci. Generate, review, extend from the last frame, and keep the scene continuous instead of stitching unrelated takes together.
Enter a text prompt, upload an image, or continue a clip you already have, and generate video with sound in seconds in DaVinci.
Inside DaVinci, Flux 3 brings together video extension, keyframe control, and native audio to produce video from text, images, or footage you already have.
Generate from a written prompt, animate a single still, or feed in an existing clip and carry it forward through DaVinci.
Inside DaVinci, continue a clip beyond its final frame, with the new footage picking up the motion and the scene of the source rather than starting over.
Define the opening and closing images and let the model generate the transition between them inside DaVinci.
Sound is created alongside the visuals as part of the same generation, so the clip comes back complete through DaVinci.
Generate from a written prompt, animate a single still, or feed in an existing clip and carry it forward through DaVinci.
Inside DaVinci, continue a clip beyond its final frame, with the new footage picking up the motion and the scene of the source rather than starting over.
Define the opening and closing images and let the model generate the transition between them inside DaVinci.
Sound is created alongside the visuals as part of the same generation, so the clip comes back complete through DaVinci.