What Is Inpainting? How AI Fills and Fixes Parts of an Image
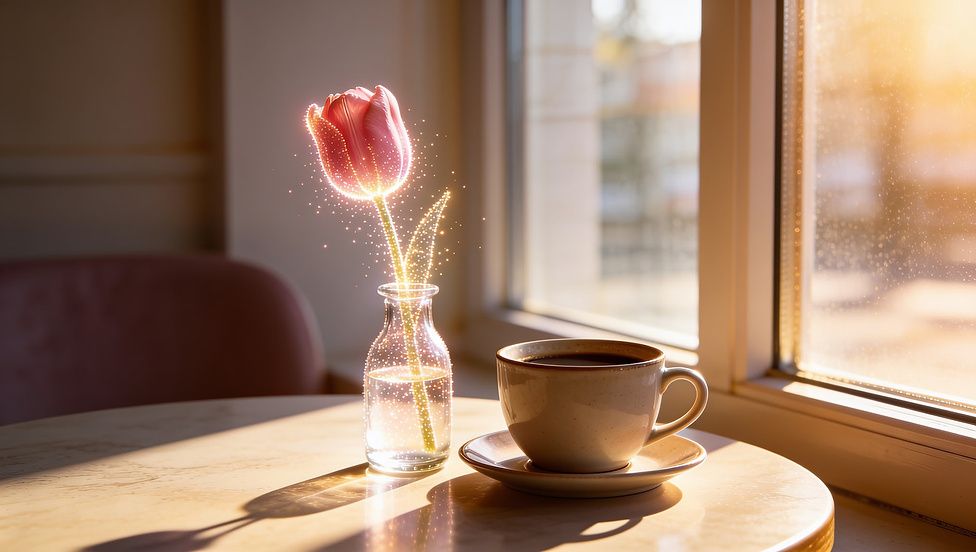
Inpainting is an editing method that changes one marked part of an image and leaves the rest alone. You mark the area, often called the mask, and an AI model fills it with new pixels that fit the surroundings: a background where a stain used to be, a vase where a napkin was, a repaired corner on a torn photo. So what is inpainting in practice? It's the tool for a fix that's too small to justify making a whole new image. You've probably used it already. Most phone and desktop photo editors include a version of it, usually behind a button called erase, remove, or replace. The labels differ, but the method underneath is the same.
What Is Inpainting?
Inpainting is the repair or replacement of one marked part of an image, done so the new pixels match the light, texture, and perspective of the untouched rest. The marked part can be empty, damaged, or simply unwanted. The model looks at the pixels at the edge of the region and at the image as a whole, then predicts what belongs inside.
Two kinds of jobs fall under the same name:
Removal: the area should end up looking as if nothing had been there. Erasing a stray cable, a blemish, or a scratch on a scan are removal jobs.
Replacement: the area should show something new that you describe, like a different object, a new pattern on a shirt, or open eyes in a photo where someone blinked.
Both rely on the same idea: the part outside the mask is the evidence, and the part inside is the guess.
How Does AI Inpainting Work?
An AI inpainting edit starts from the original image, a mask that marks the area to change, and usually a short text instruction. In the Hugging Face diffusers guide, for example, the mask is a black-and-white image in which white pixels mark the area to repaint and black pixels mark what to keep.
Diffusion models, the kind behind most current image generators, then add noise to the masked area and remove it again step by step. At each step, the model checks its work against the unmasked pixels and the instruction, so the fill gradually takes on the light, color, and perspective of the scene. A strength setting decides how far the new pixels may drift from the old ones: low values stay close to what was there, and high values allow a bigger change.
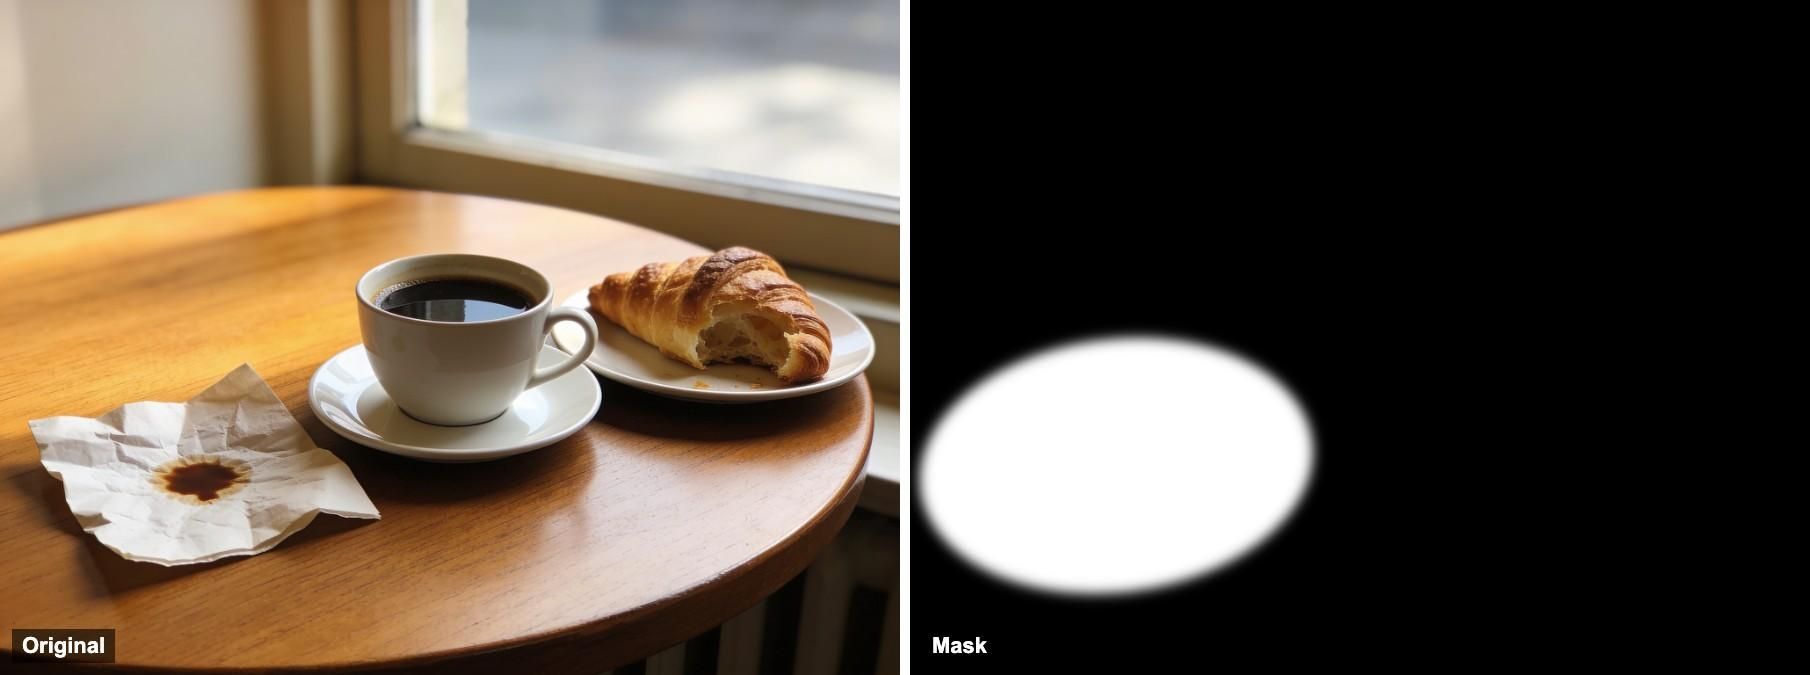
Two practical points follow from this. First, the edge of the mask matters as much as its center. A hard edge can leave a visible seam, so many tools blur or feather the border to blend the new pixels in. Second, some models repaint a little outside the mask while they blend, which is why an inpainted image needs a full check, not just a look at the edited spot.
An Inpainting Example, Step by Step
To see how it behaves on an everyday photo, we made a test image in DaVinci: a café table with a coffee cup, a croissant, and a stained, crumpled napkin. The goal was to replace the napkin with a small vase of flowers and leave everything else as it was.
- Pick the area. Here, it was the napkin plus a little of the table around it, so the fill had room to blend into the wood grain.
- Write the instruction about the area, not the whole photo. The prompt named the new object, its size, and what had to stay the same.
- Generate, then compare the result with the original at full size, area by area.
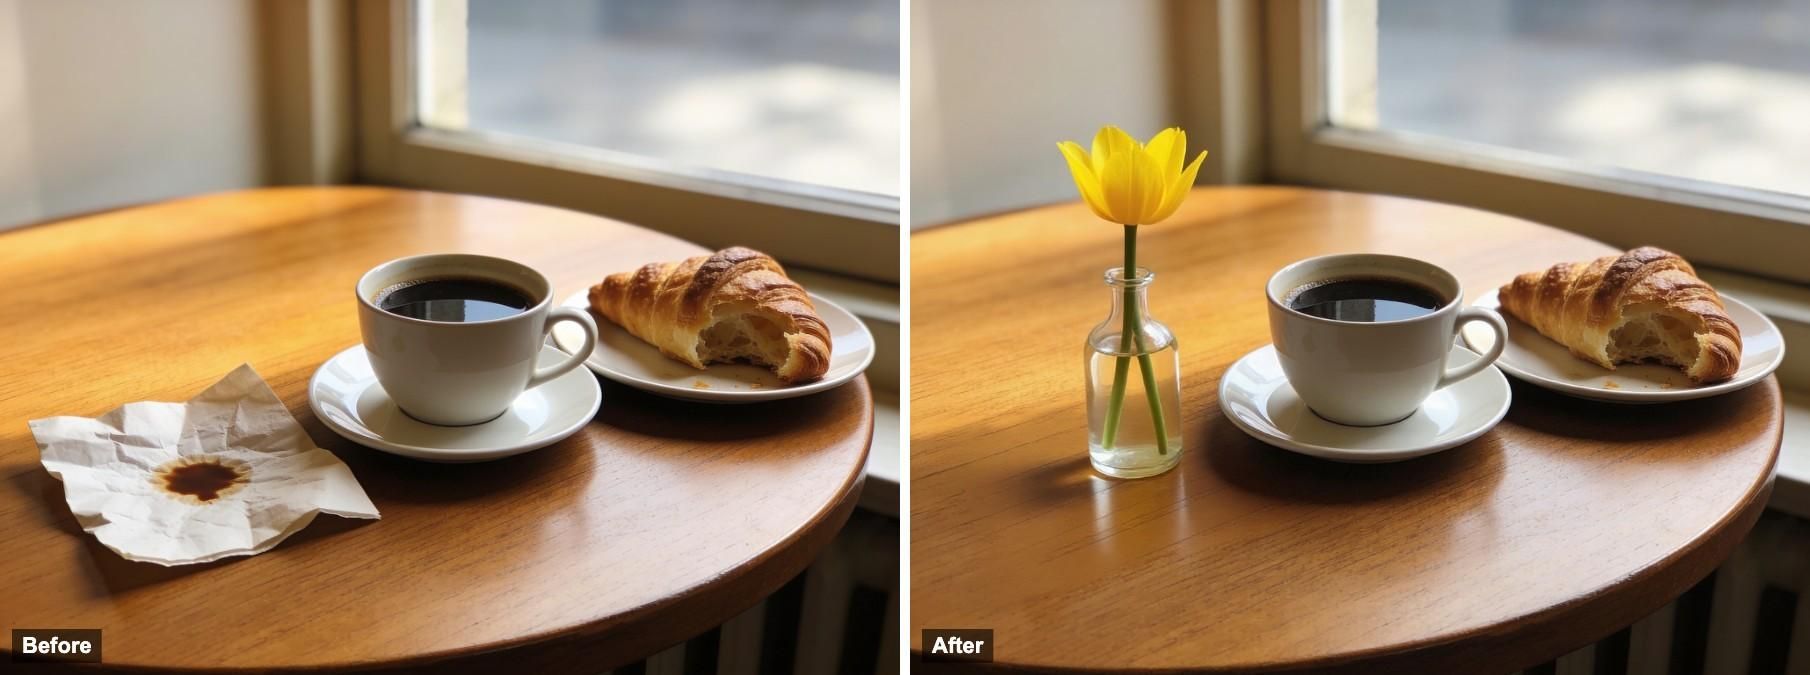
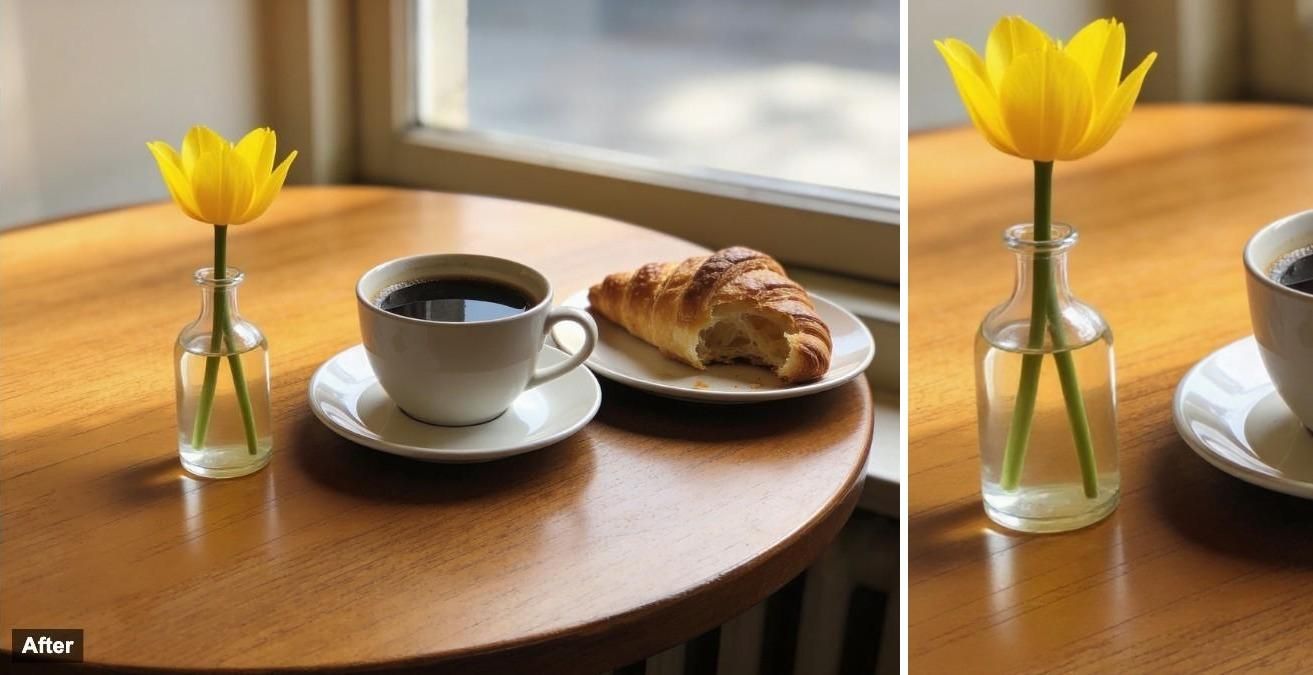
The napkin was gone, and a small vase stood in its place with a soft shadow on the table, lit from the same window as the cup. A closer look found three things the prompt didn't ask for. The single tulip had two stems in the water. The whole frame had shifted: the edited version is cropped tighter, so the plate and croissant now run into the right edge. And the file came back at a lower resolution than the original. The last two are typical of prompt-based editing, which redraws the whole picture rather than only the marked area.
DaVinci's image-to-image editor works this way, from the photo and a written instruction rather than a painted mask. As of November 2026, its page advises naming the details that must stay unchanged and inspecting the full output, since the model can alter nearby details.
What Inpainting Does Well, and Where It Struggles
Inpainting is at its best when the area is small and its surroundings are easy to continue. It gets harder as the area grows and as the scene asks for precision.
Works well: small objects on plain or natural backgrounds, skin blemishes, dust and scratches, swapping one object for another of a similar size, and changing a texture or color inside a clear boundary.
Struggles: large areas, where most of the fill is invention; straight lines and repeating patterns that have to line up across the gap; hands, faces, and small text; and light that has to match a strong direction or a colored source.
A useful rule of thumb: the larger the mask is compared with the whole frame, the more of the final image the model made up. If the area you want to change is a third of the picture or more, a new generation or a reshoot is often faster than inpainting.
Inpainting, Outpainting, and Image-to-Image Compared
These three edits sound alike but answer different needs.
Inpainting changes an area inside the frame and keeps the frame the same size.
Outpainting adds new image beyond the original edges, for example to turn a square photo into a wide banner.
Image-to-image uses the whole picture as a starting point and produces a new version of all of it, such as the same scene in another style or season.
Inpainting vs Image-to-Image: Which One Do You Need?
Choose inpainting when most of the picture is right and one part is wrong. Choose image-to-image when you want the whole picture to change in a consistent way, like a new art style or a different time of day. If you use an image-to-image tool for a local fix, as in the example above, write the instruction so it limits the change to one area and lists what must not move. Then compare the two versions closely, because a whole-image edit has more chances to drift.
Common Uses of AI Inpainting
Cleaning up product and listing photos: a fingerprint on a glossy surface, a scuff on the backdrop, or a stray reflection.
Repairing old photos: tears, missing corners, and dust on scans. A dedicated photo restoration tool handles heavy damage across the whole print.
Fixing generated images: an extra finger, a garbled sign, or a background object that doesn't belong.
Trying variations: a different mug, flower, or shirt pattern in an otherwise finished image.
If the change should cover the whole picture, start over in an AI image generator with a better prompt instead of patching it piece by piece.
How to Check an Inpainted Image
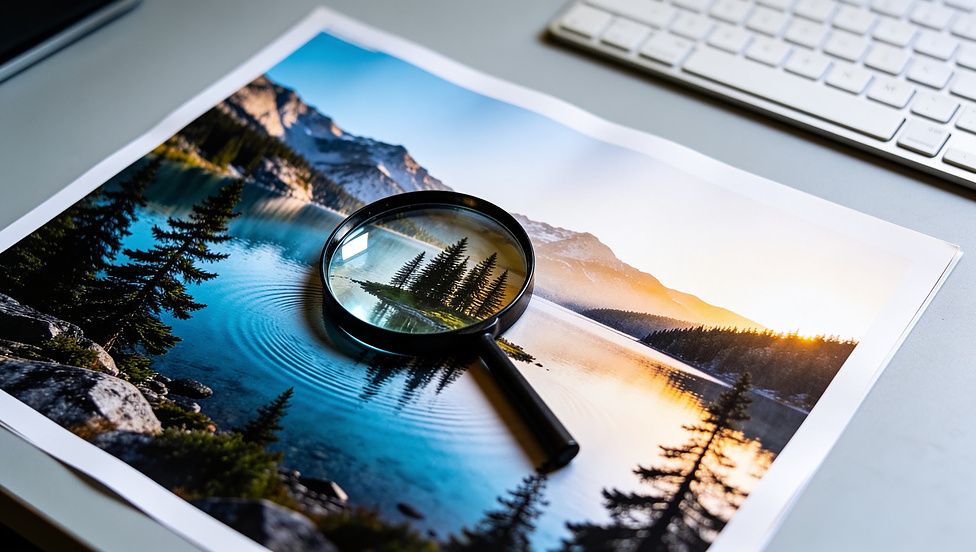
Inspect the result zoomed in to 100%, then zoom out to the size it will be shown at, since some flaws only appear from a distance. Then go through these points.
The seam: no outline, smudge, or change in grain where the mask ended.
Light and shadow: the new area is lit from the same side as the rest of the scene and casts a shadow that makes sense.
Scale and perspective: a new object is the right size for where it stands and sits on the surface instead of floating.
Everything outside the mask: faces, hands, text, and edges near the edit look exactly as they did in the original.
Honesty: if the photo documents something real, like damage or a product's condition, keep the original and don't present the edited copy as the record.
Drafted with AI assistance and reviewed by Buğra Demir. Last updated: November 3, 2026.
More from DaVinci Blog